1. Deploy the virtual reporter appliance
Download the virtual appliance and follow the instructions in section 12 of the manual.
2. Configure Virtual Appliance Using the Virtual Console
Open your vSphere Client and connect to your host.
Press the power button to start your mutiny reporter virtual appliance.
Next you will see various start-up messages scrolling past; this is a normal part of the operating system load.
Once the appliance is running you will see a screen that looks like this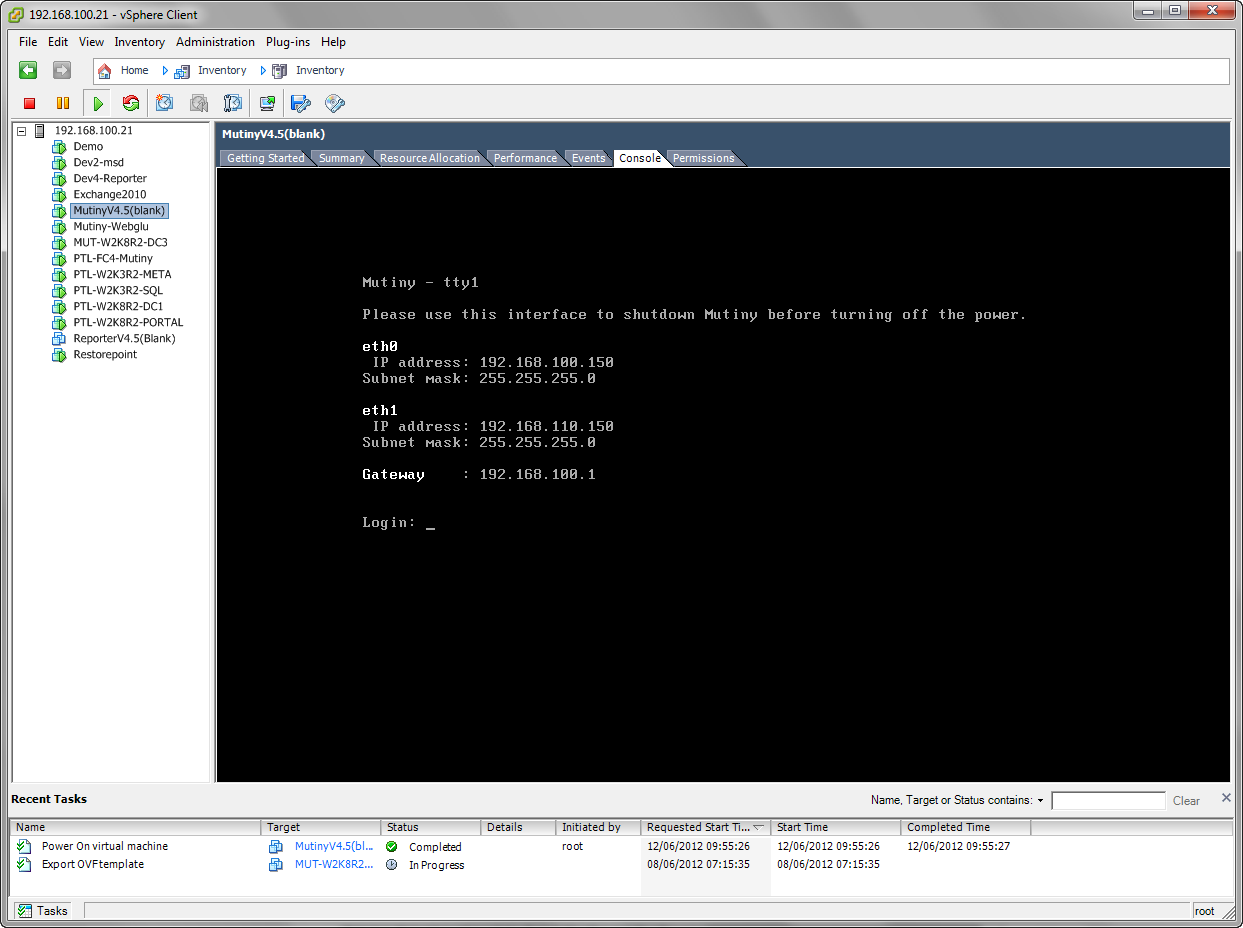
This is the Mutiny/Reporter console it displays the current interface configuration and allows the user to change the network settings and shutdown the system gracefully.
Login with "admin" and password "mutiny"

Type 2 and press return to enter the interface settings screen.
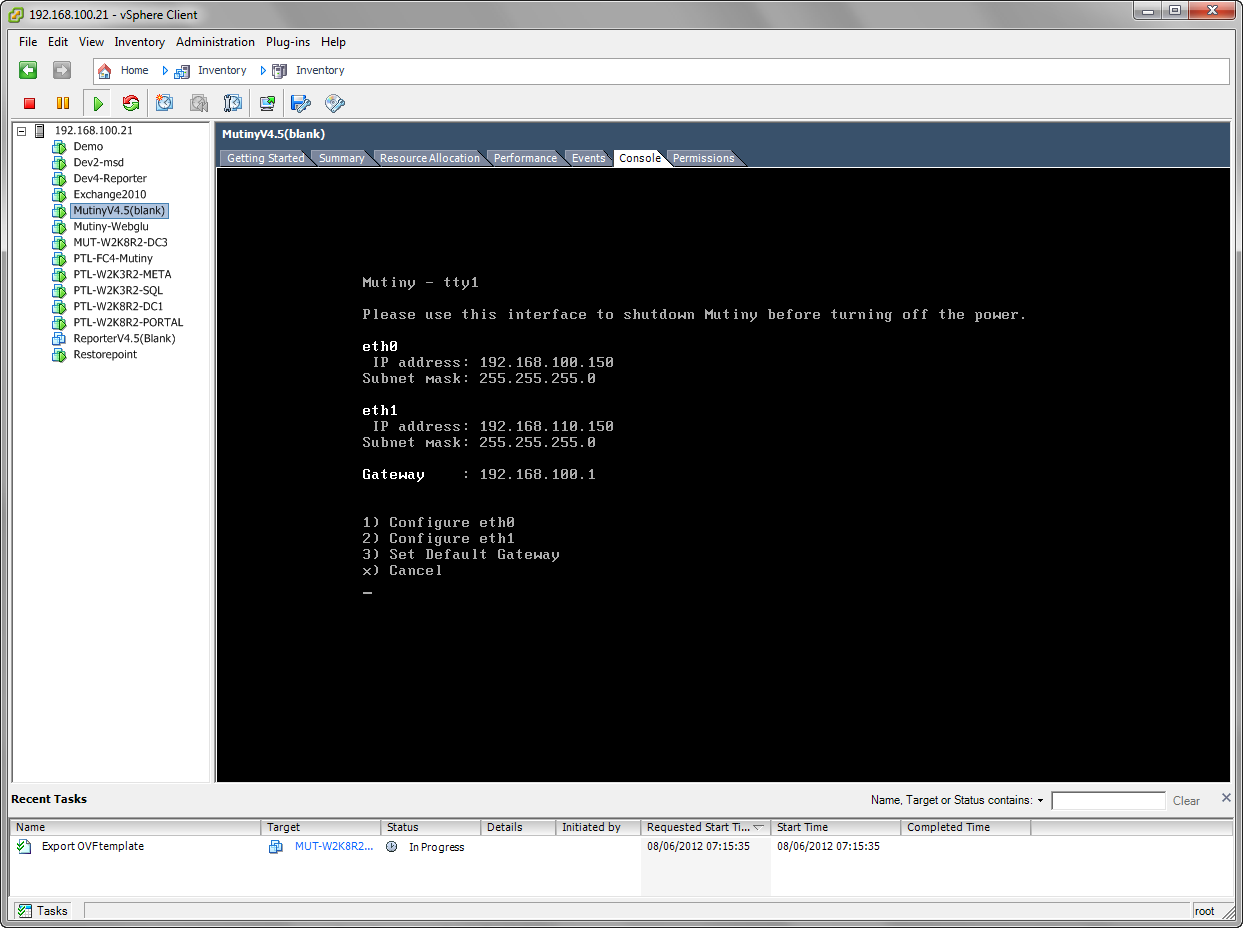
Only one interface is required for monitoring and we recommend configuring eth0 for your network and leaving eth1 for administrative purposes. Ensure you change the secondary address if you are using this subnet range elsewhere in your network.
Using the menu options, configure your interface setting to match those of your network and set the default gateway to match.
Your Mutiny reporter system should now be accessible from your desktop/laptop.
3. Coupling to Mutiny monitor
In order to produce reports the reporter collects data from the monitor each night. The data is written to a sql database as this preserves the the data in its non-averaged state.
Point your browser to the ipaddress you set on your new reporter and login with "admin" and "mutiny" and press the (Admin) menu button at the bottom of the screen. Please note that this is the default username and passord for a new reporter and will change automatically to the admin username and password used on your Mutiny monitor after the first data import.
This will load the admin screen where you can complete the setup;
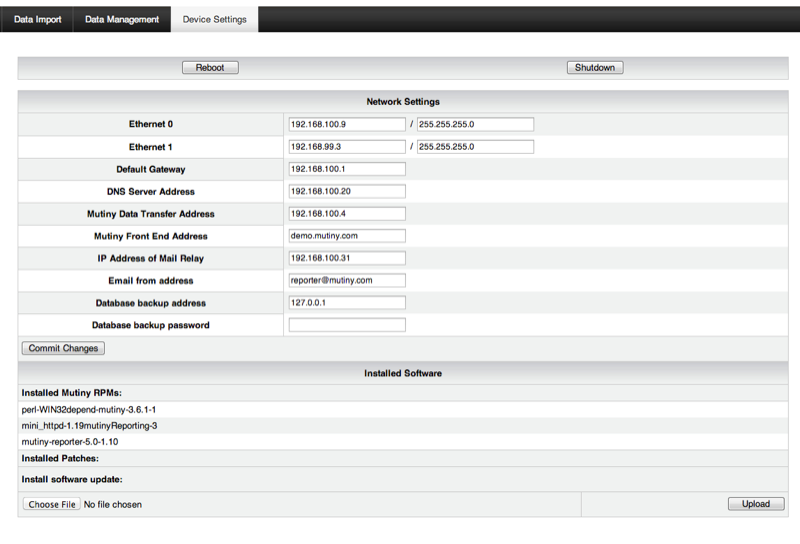
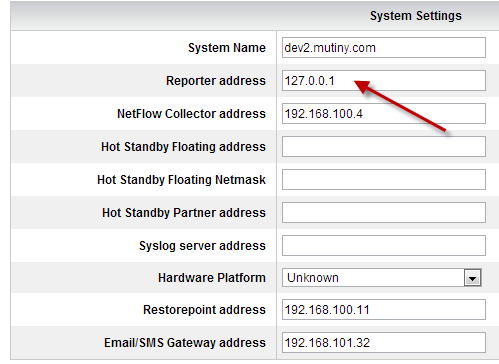
Complete the fields as appropiate, the "Data Transfer Address" and "Mutiny Front End Address" are normally the same unless you have created a special virtual switch for transfer between the two virtual appliances.
Commit the changes and close the admin window.
4. Configure Mutiny for reporter
Log into Mutiny monitor and select (Admin)
Enter the address of the new reporter you set in step 1. and press (Update) to save the changes.
5. Importing Data
In order to produce some reports you will need to manually import some data.
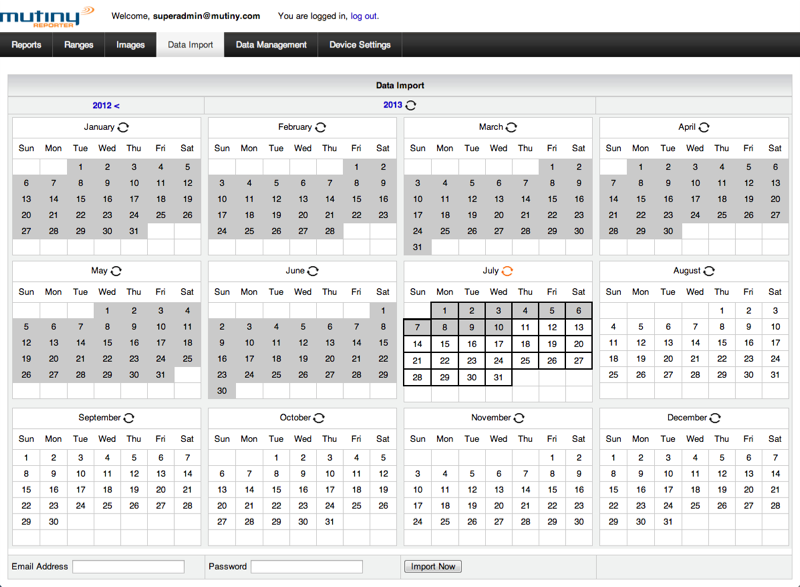
Log back into reporter and select (Data Import) from the main view.
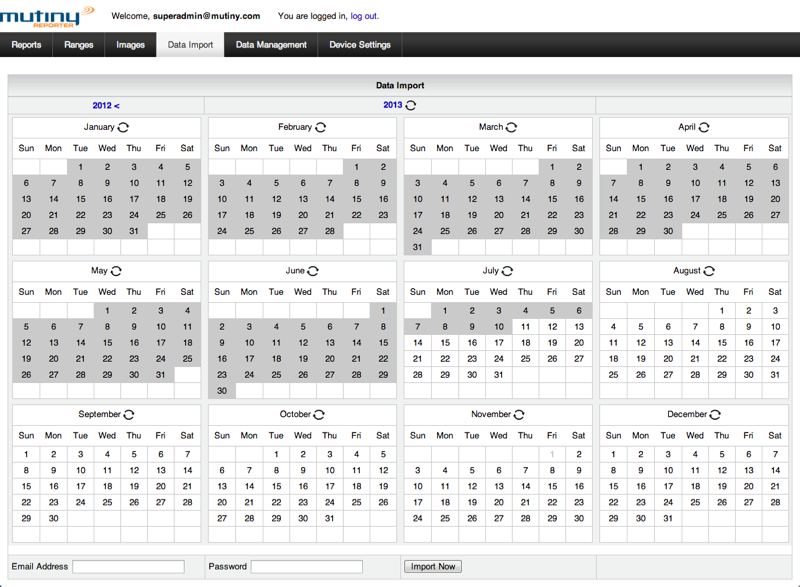
Select the recycle button next to the current month and you will see outlines appear for each day. This tells reporter to get this month next time syncronisation occurs. This step is only necessary during setup as the two appliances syncronise every night. Following the initial setup and your test reports, you may want to revisit this screen and import more historic data if it exists.
Enter the Mutiny monitor admin password in the field at the top and press (Import Now) to start the data transfer. Now have a coffee break...
Periodically load the data import screen to check on the import process. The days will change orange as data is available for that day.
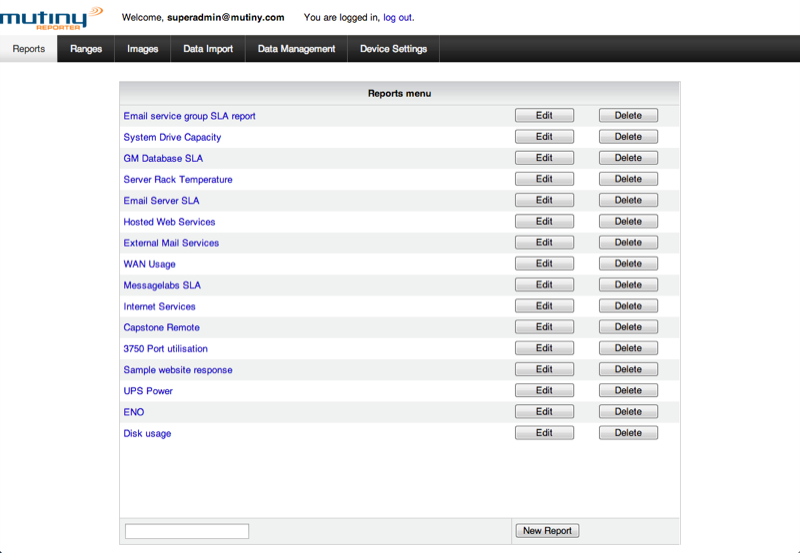
Once you have some data you are ready to build some reports.


